


Christmas Light Installer Checklist
Are you a contractor? Click here for Design software
Starting a Christmas light installation business can be a festive and profitable venture. Whether you’re a DIY enthusiast looking to go pro or a business owner expanding your services, having the right products and tools is crucial for success. Here’s a comprehensive checklist of the materials and tools every Christmas light crew should have.
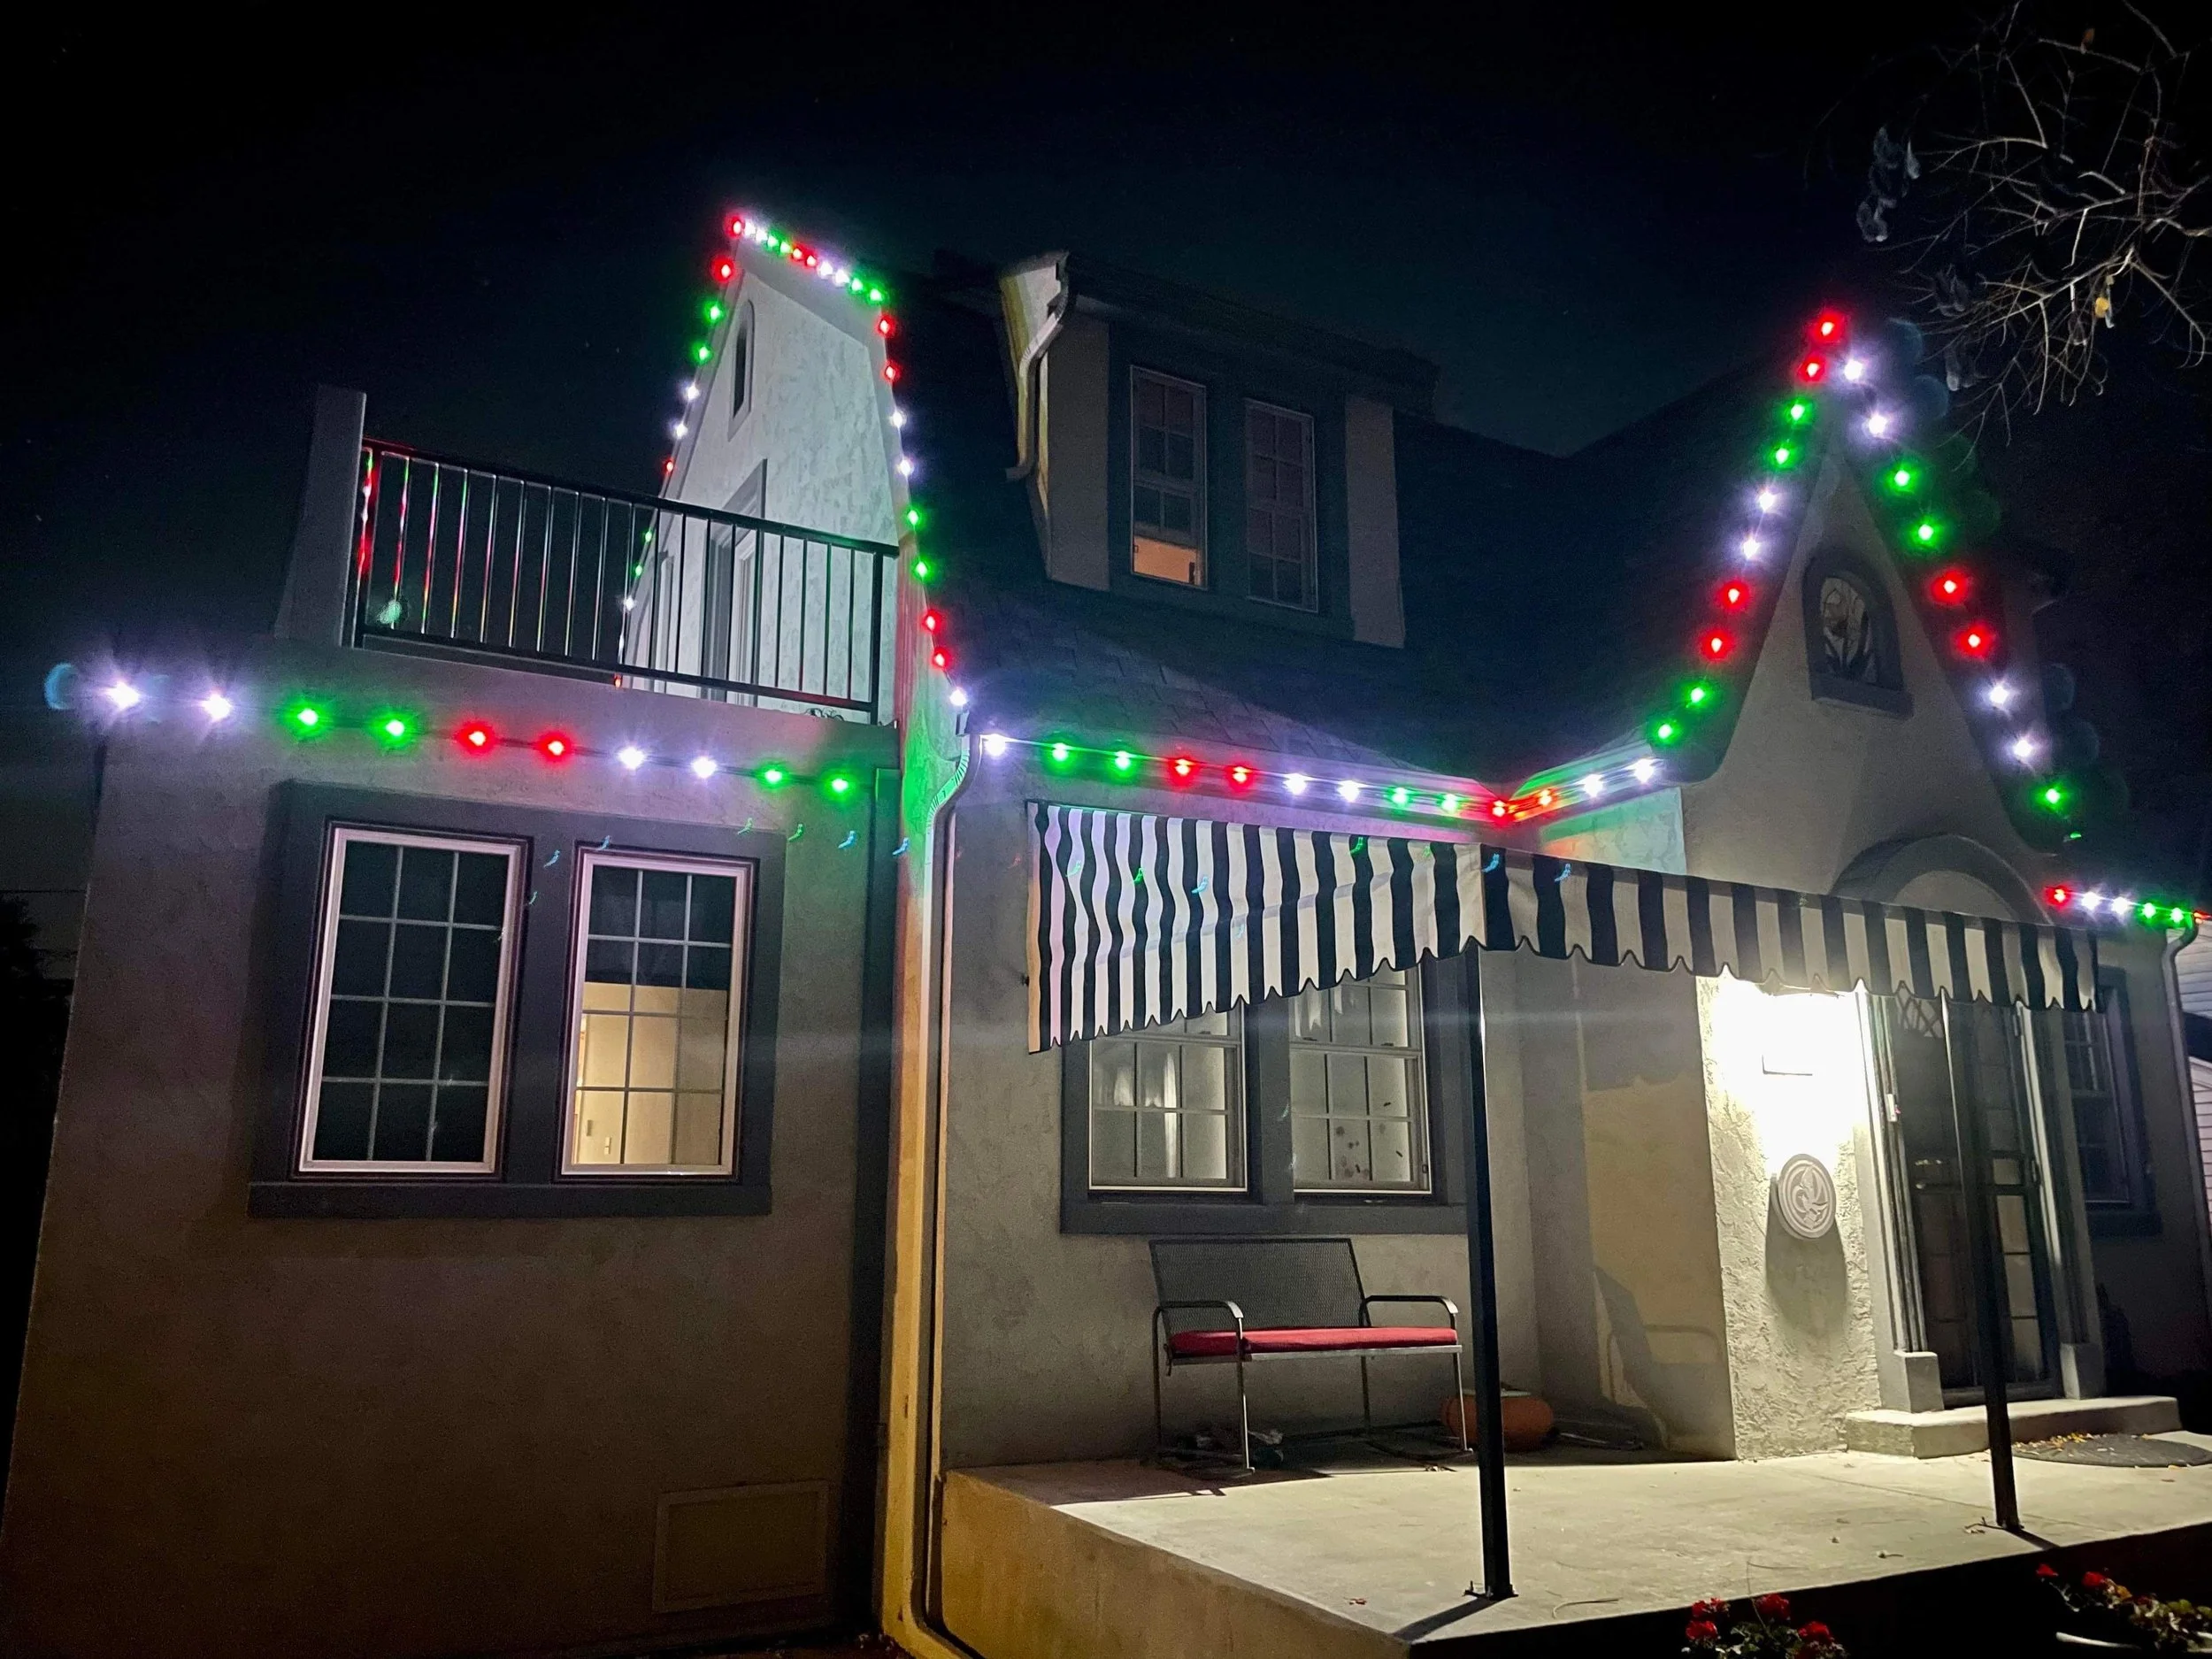
Professional Christmas Lights
Christmas Light Material Checklist
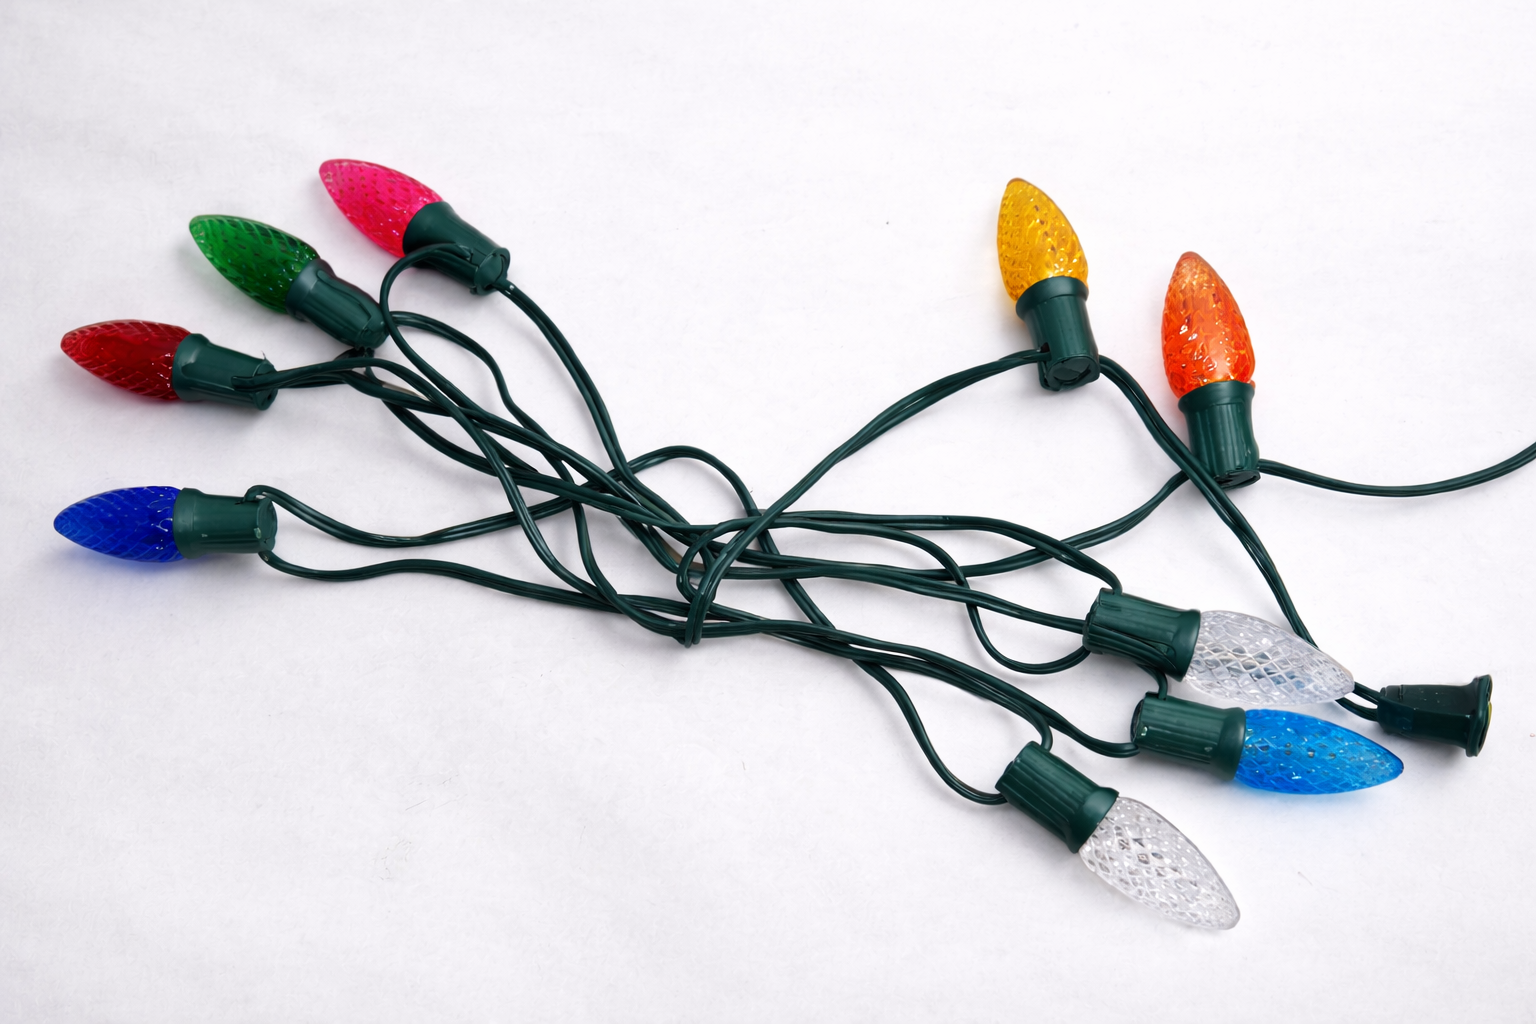
1. C9 LED Bulbs with E17 Base
• Colors:
• Warm White: The most popular choice for its classic holiday glow.
• Red: A close second, often used for vibrant displays.
• Cool White, Green, and Blue: Equally mixed for versatile designs.
• Other Colors: Orange, purple, teal, pink, and pure white are less common but good to have for special requests.
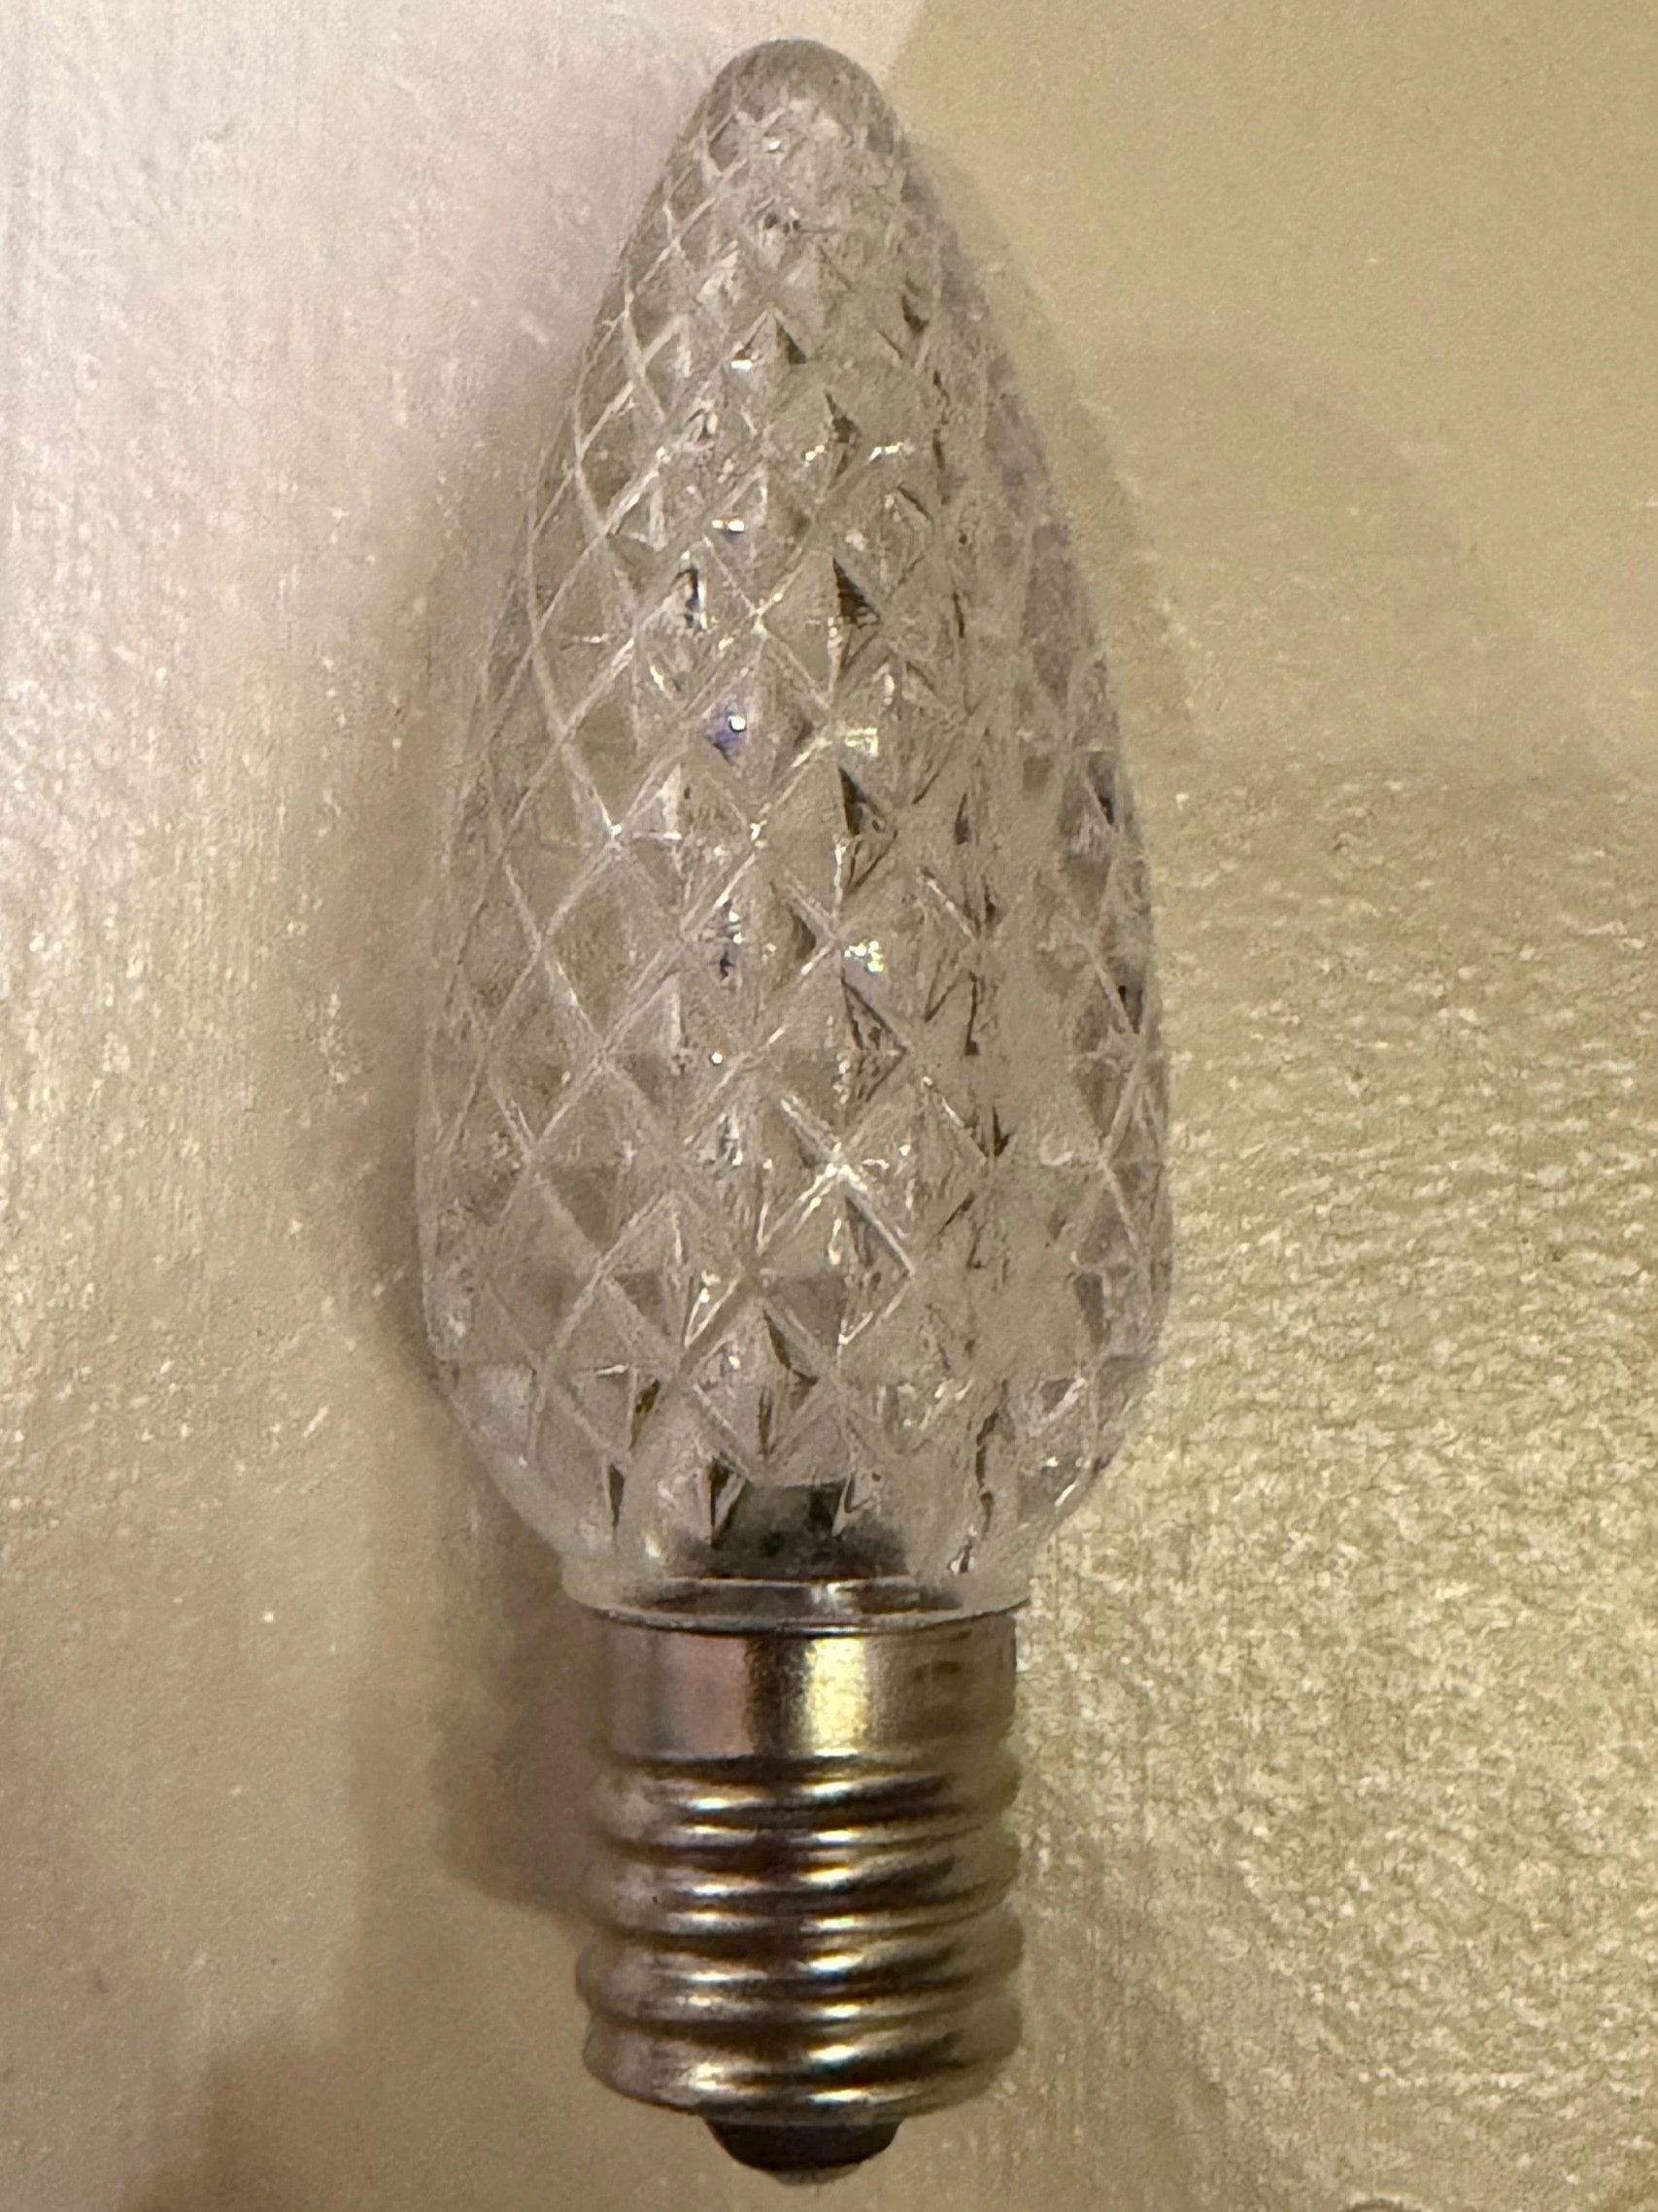
C9 Commercial-grade bulb
15 inch Spacing Christmas Lights
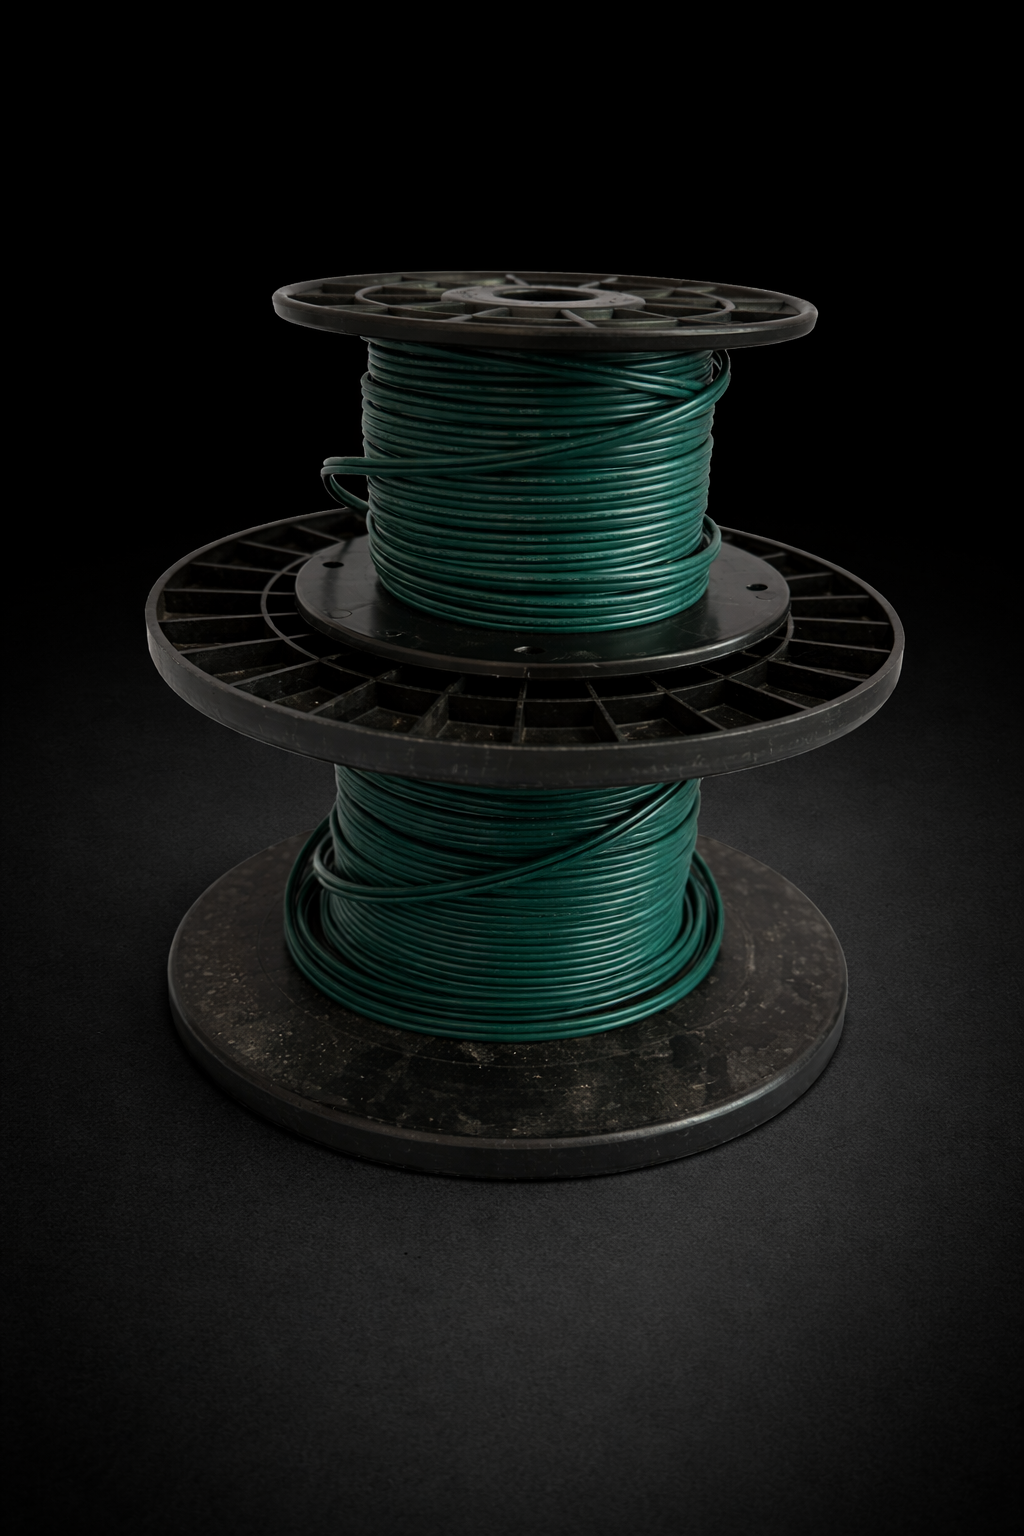
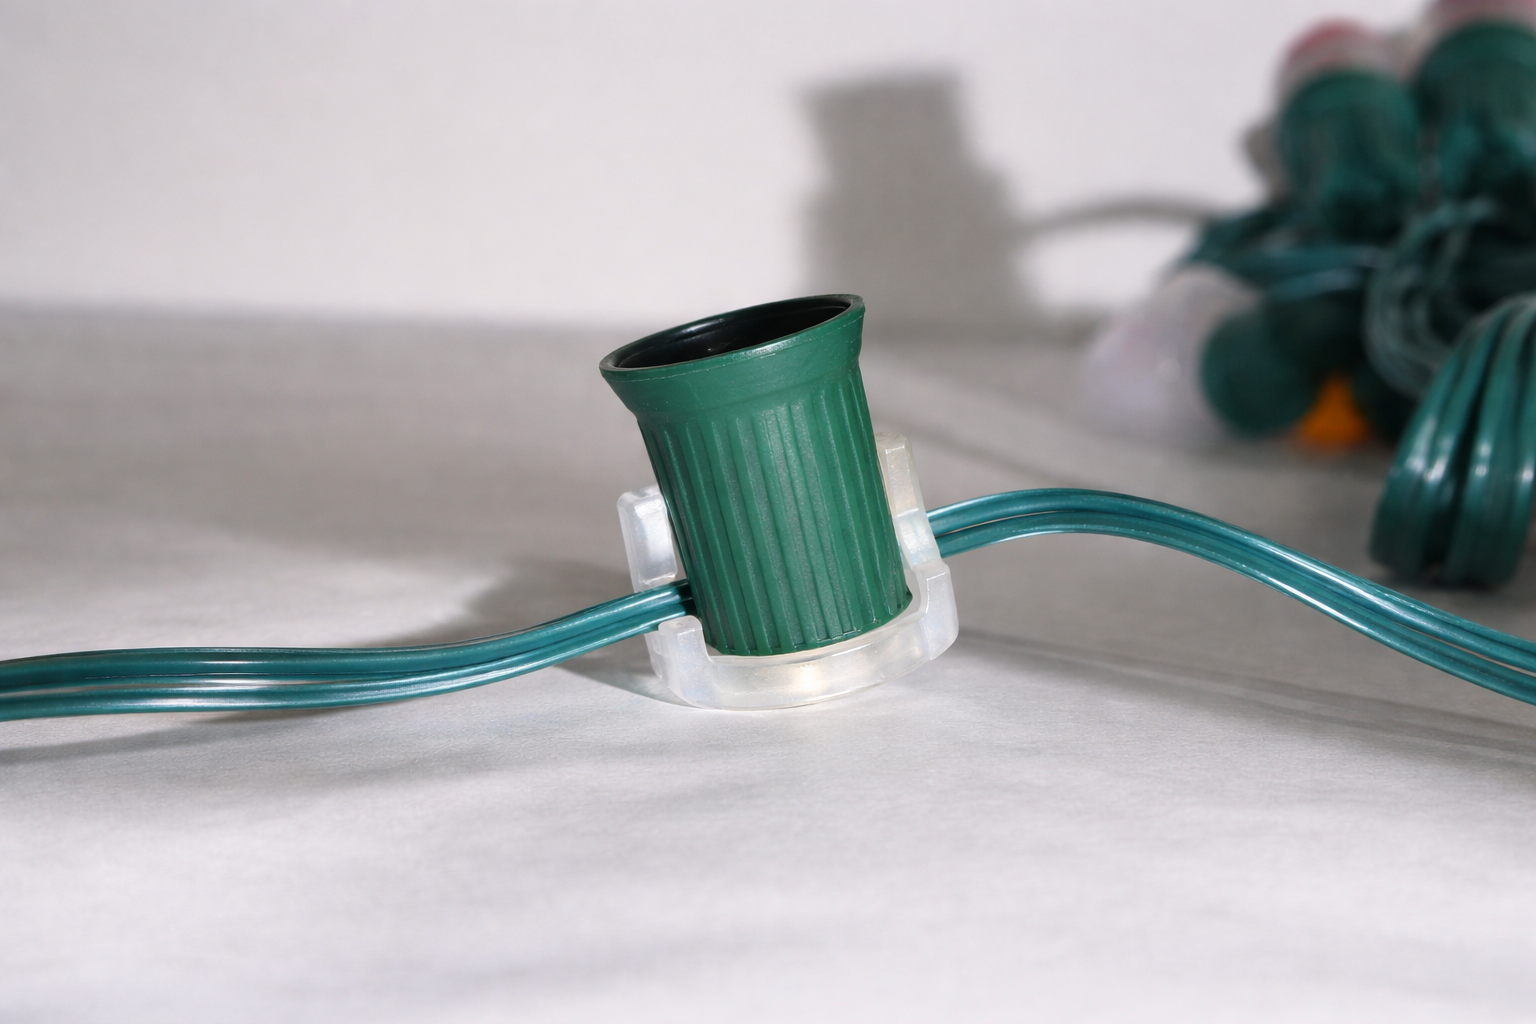
2. Socket Wire for C9 bulbs
• 12” Spacing: Ideal for rooflines, arches, and windows.
• 15” Spacing: Commonly used for ground lighting.
• Custom Spacing: Be prepared for unique requests with sizes ranging from 6” to 36”, or even custom-made lights using zip cords.

1000 ft spool socket cord
3. custom Length Extension Cord reels (Zip Cord)
• 18 Gauge SPT1 or SPT2: SPT1 is more flexible in cold weather, which is why it’s preferred in milder climates like Texas. The difference lies in the thickness of the insulation.
4. automatic Timers
• Photocell Timers: Automatically turn lights on at dusk and off at dawn.
• Mechanical Timers: Offer precise control over when lights turn on and off, ideal for specific lighting schedules.
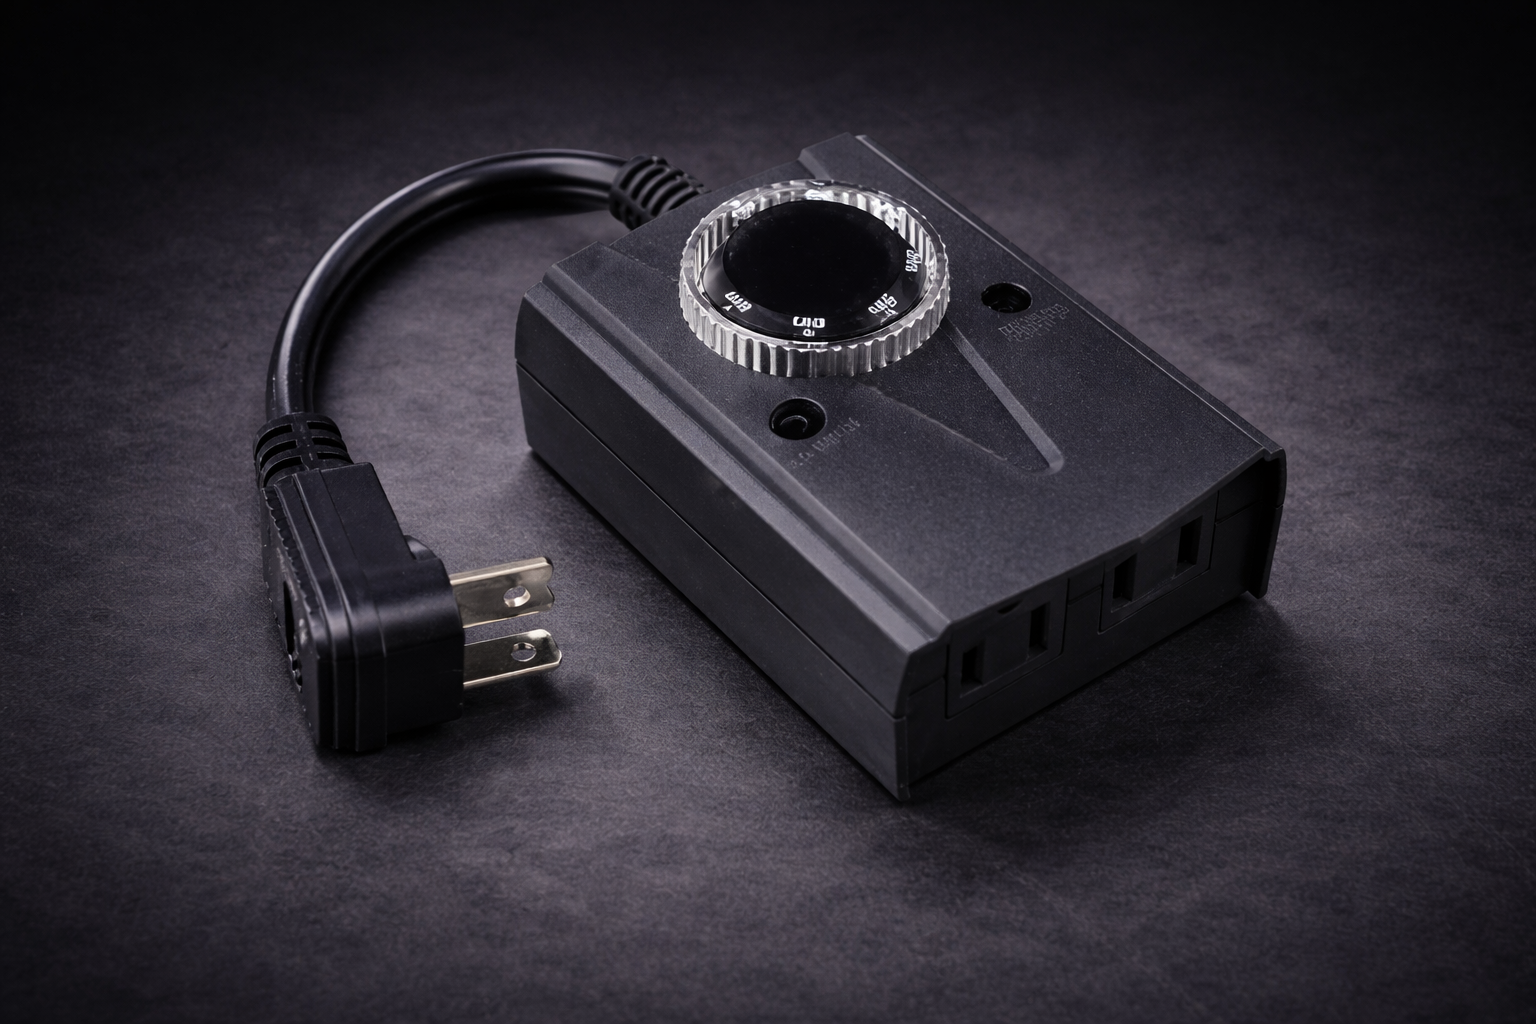
photocell timer
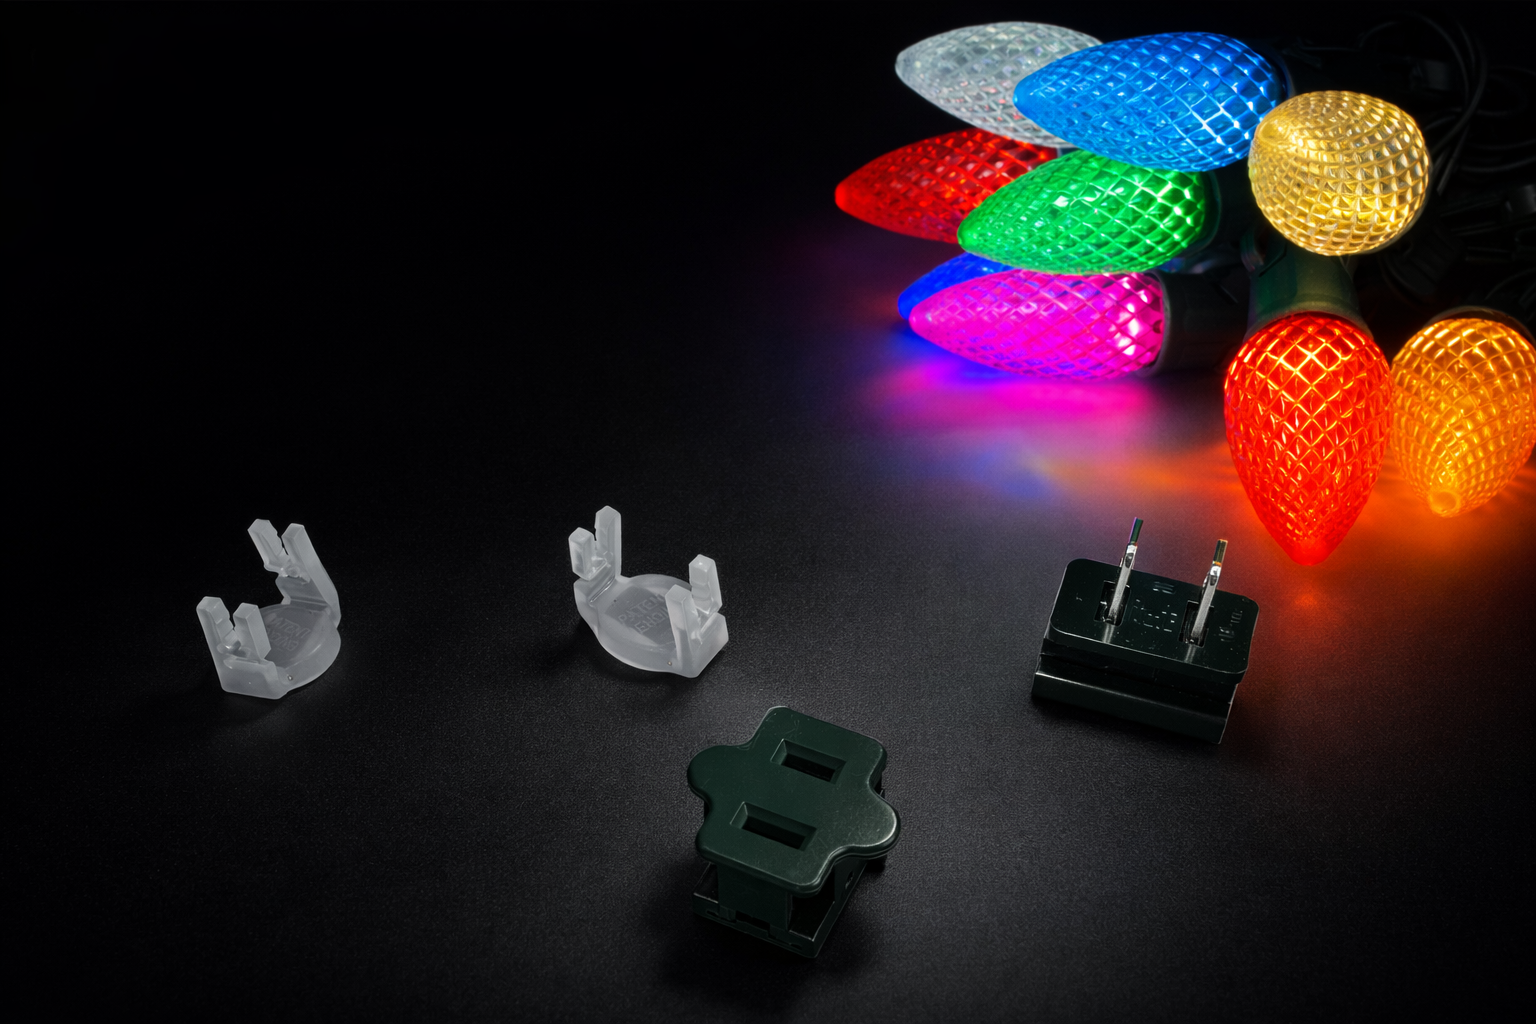
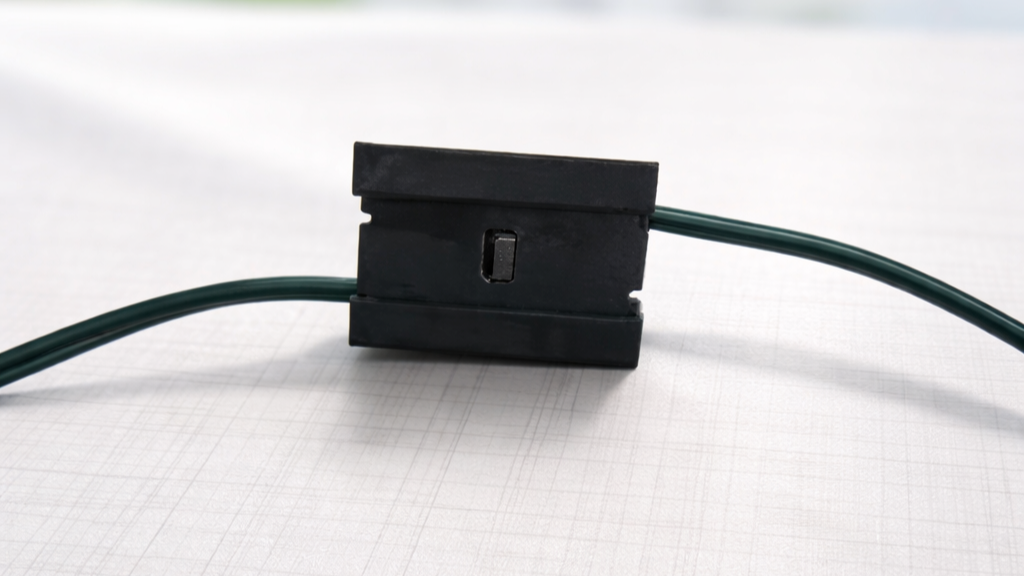
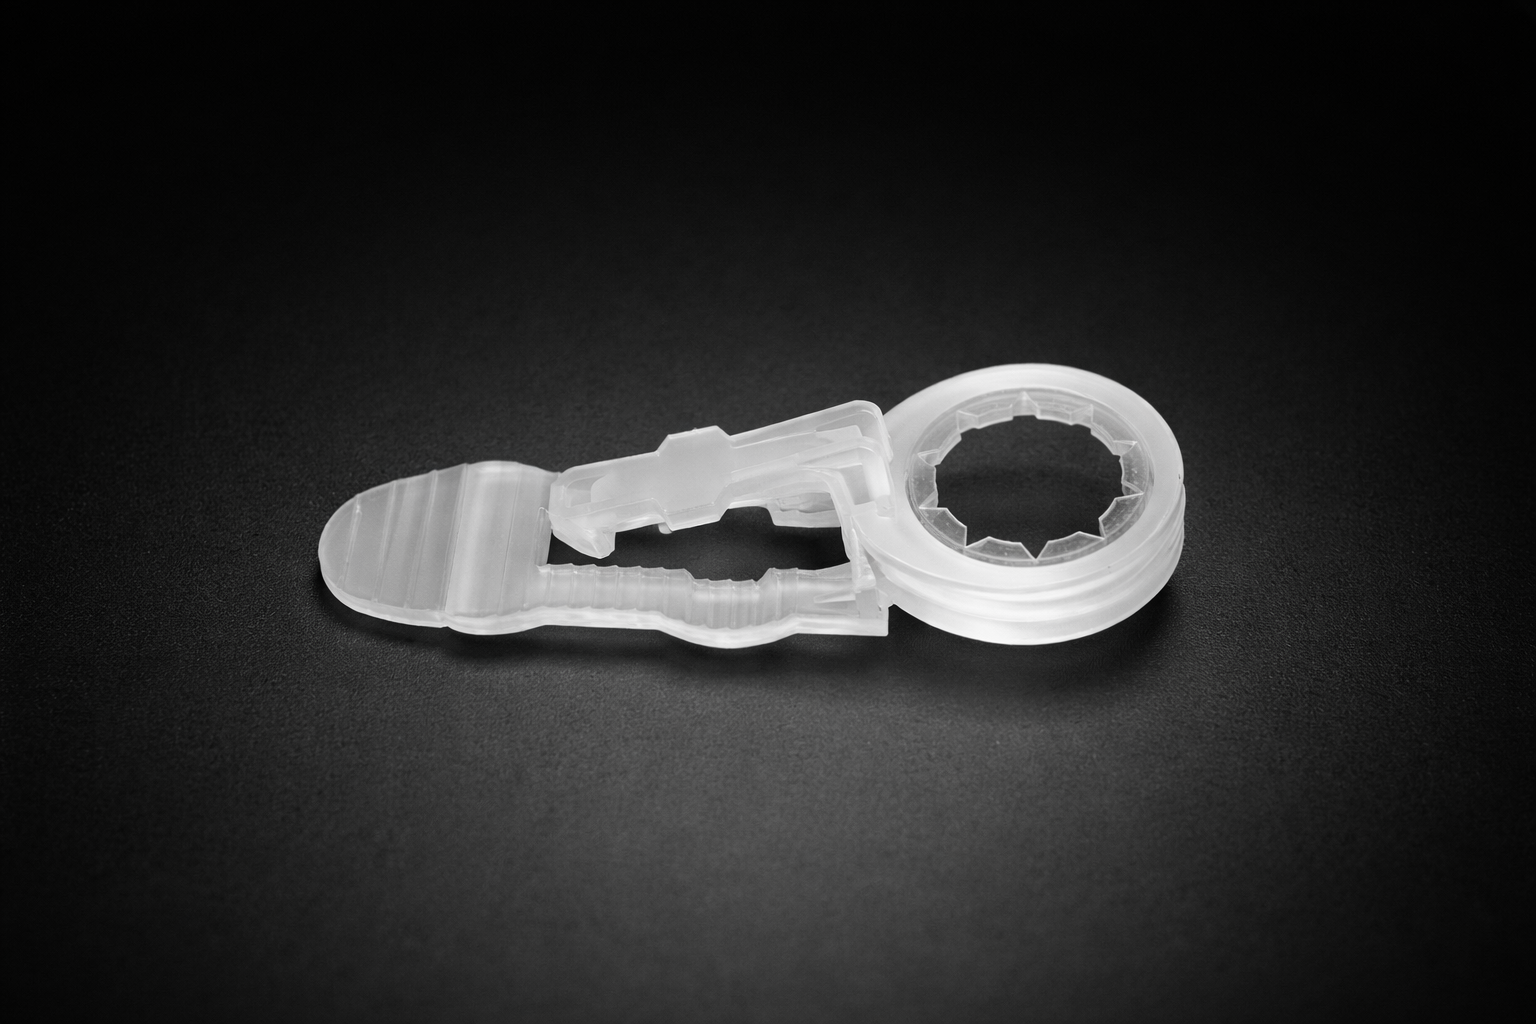
5.UNiversal Male and Female Vampire Plugs
These allow for custom-cut extension cords, making installations neater and more tailored to each project.
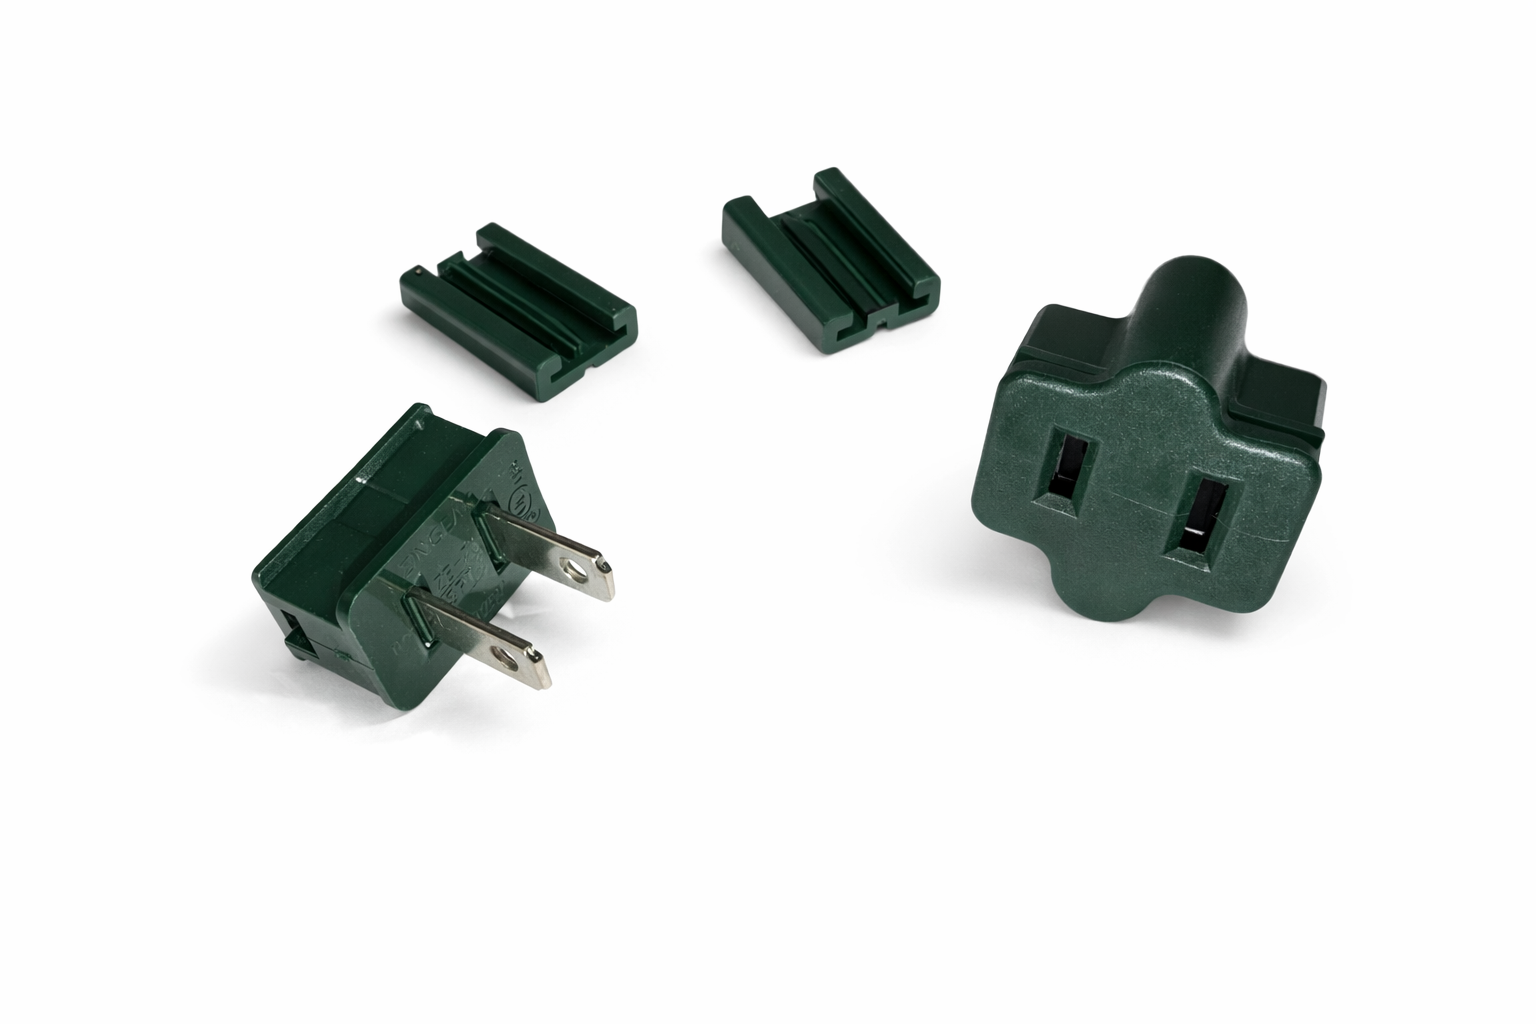
Male and Female Connectors for custom Christmas Lighting
universal connector for Christmas lights 18/2 gauge set 1 wire
6. Christmas Light Clips
• Types: all-in-one and magnetic clips.
• These clips securely fasten lights to various surfaces, from gutters to rooflines.
Wholesale Commercial-grade Clips for Christmas Lights
Magnetic Christmas Light clips

Commercial-grade Christmas Lights at Wholesale Prices
Need More Christmas Light and Permanent Light Jobs? Click Here for our Lead Program
7. Green Electrical Tape
Blends in with greenery and light strands, ensuring a polished and professional look.
8. Tapcons
Used for attaching wreaths and garlands to masonry or concrete surfaces.
9. Picture Hanging Wire
Ideal for wreaths and garlands
10. Denatured Alcohol
Perfect for cleaning surfaces before applying adhesive light clips or other mounting hardware.
11. Glue Sticks
For securing lights and/or clips when other methods aren’t feasible.
12. Storage Solutions
• 27-Gallon Bins or Cardboard Boxes: Durable storage options to keep customer lights organized and safe until the next holiday season.
Christmas Light Tool Checklist
In addition to the materials, the right tools are essential for a smooth installation process. Here’s what you’ll need:
• Drill with Various Bits: For installing Tapcons or other fasteners.
• Extension Ladders: Reach high places safely. “24 foot is my go to.”
• Measuring Tape: when you need to be precise
• Wire Cutters and Strippers: Essential for custom-length cords.
• Rubber Mallet: Useful for securing stakes in the ground.
• Tool Belt or Bag: Keeps everything within easy reach while you work.
• Safety Gear: Gloves, safety glasses, and harnesses for working at heights.
With this checklist, you’ll be well-equipped to handle a wide range of Christmas light Installations.
DIY Christmas Light Tips
Before installation, always test every bulb and strand. Catching bad bulbs or wiring issues early saves time on ladders and prevents callbacks later in the season.
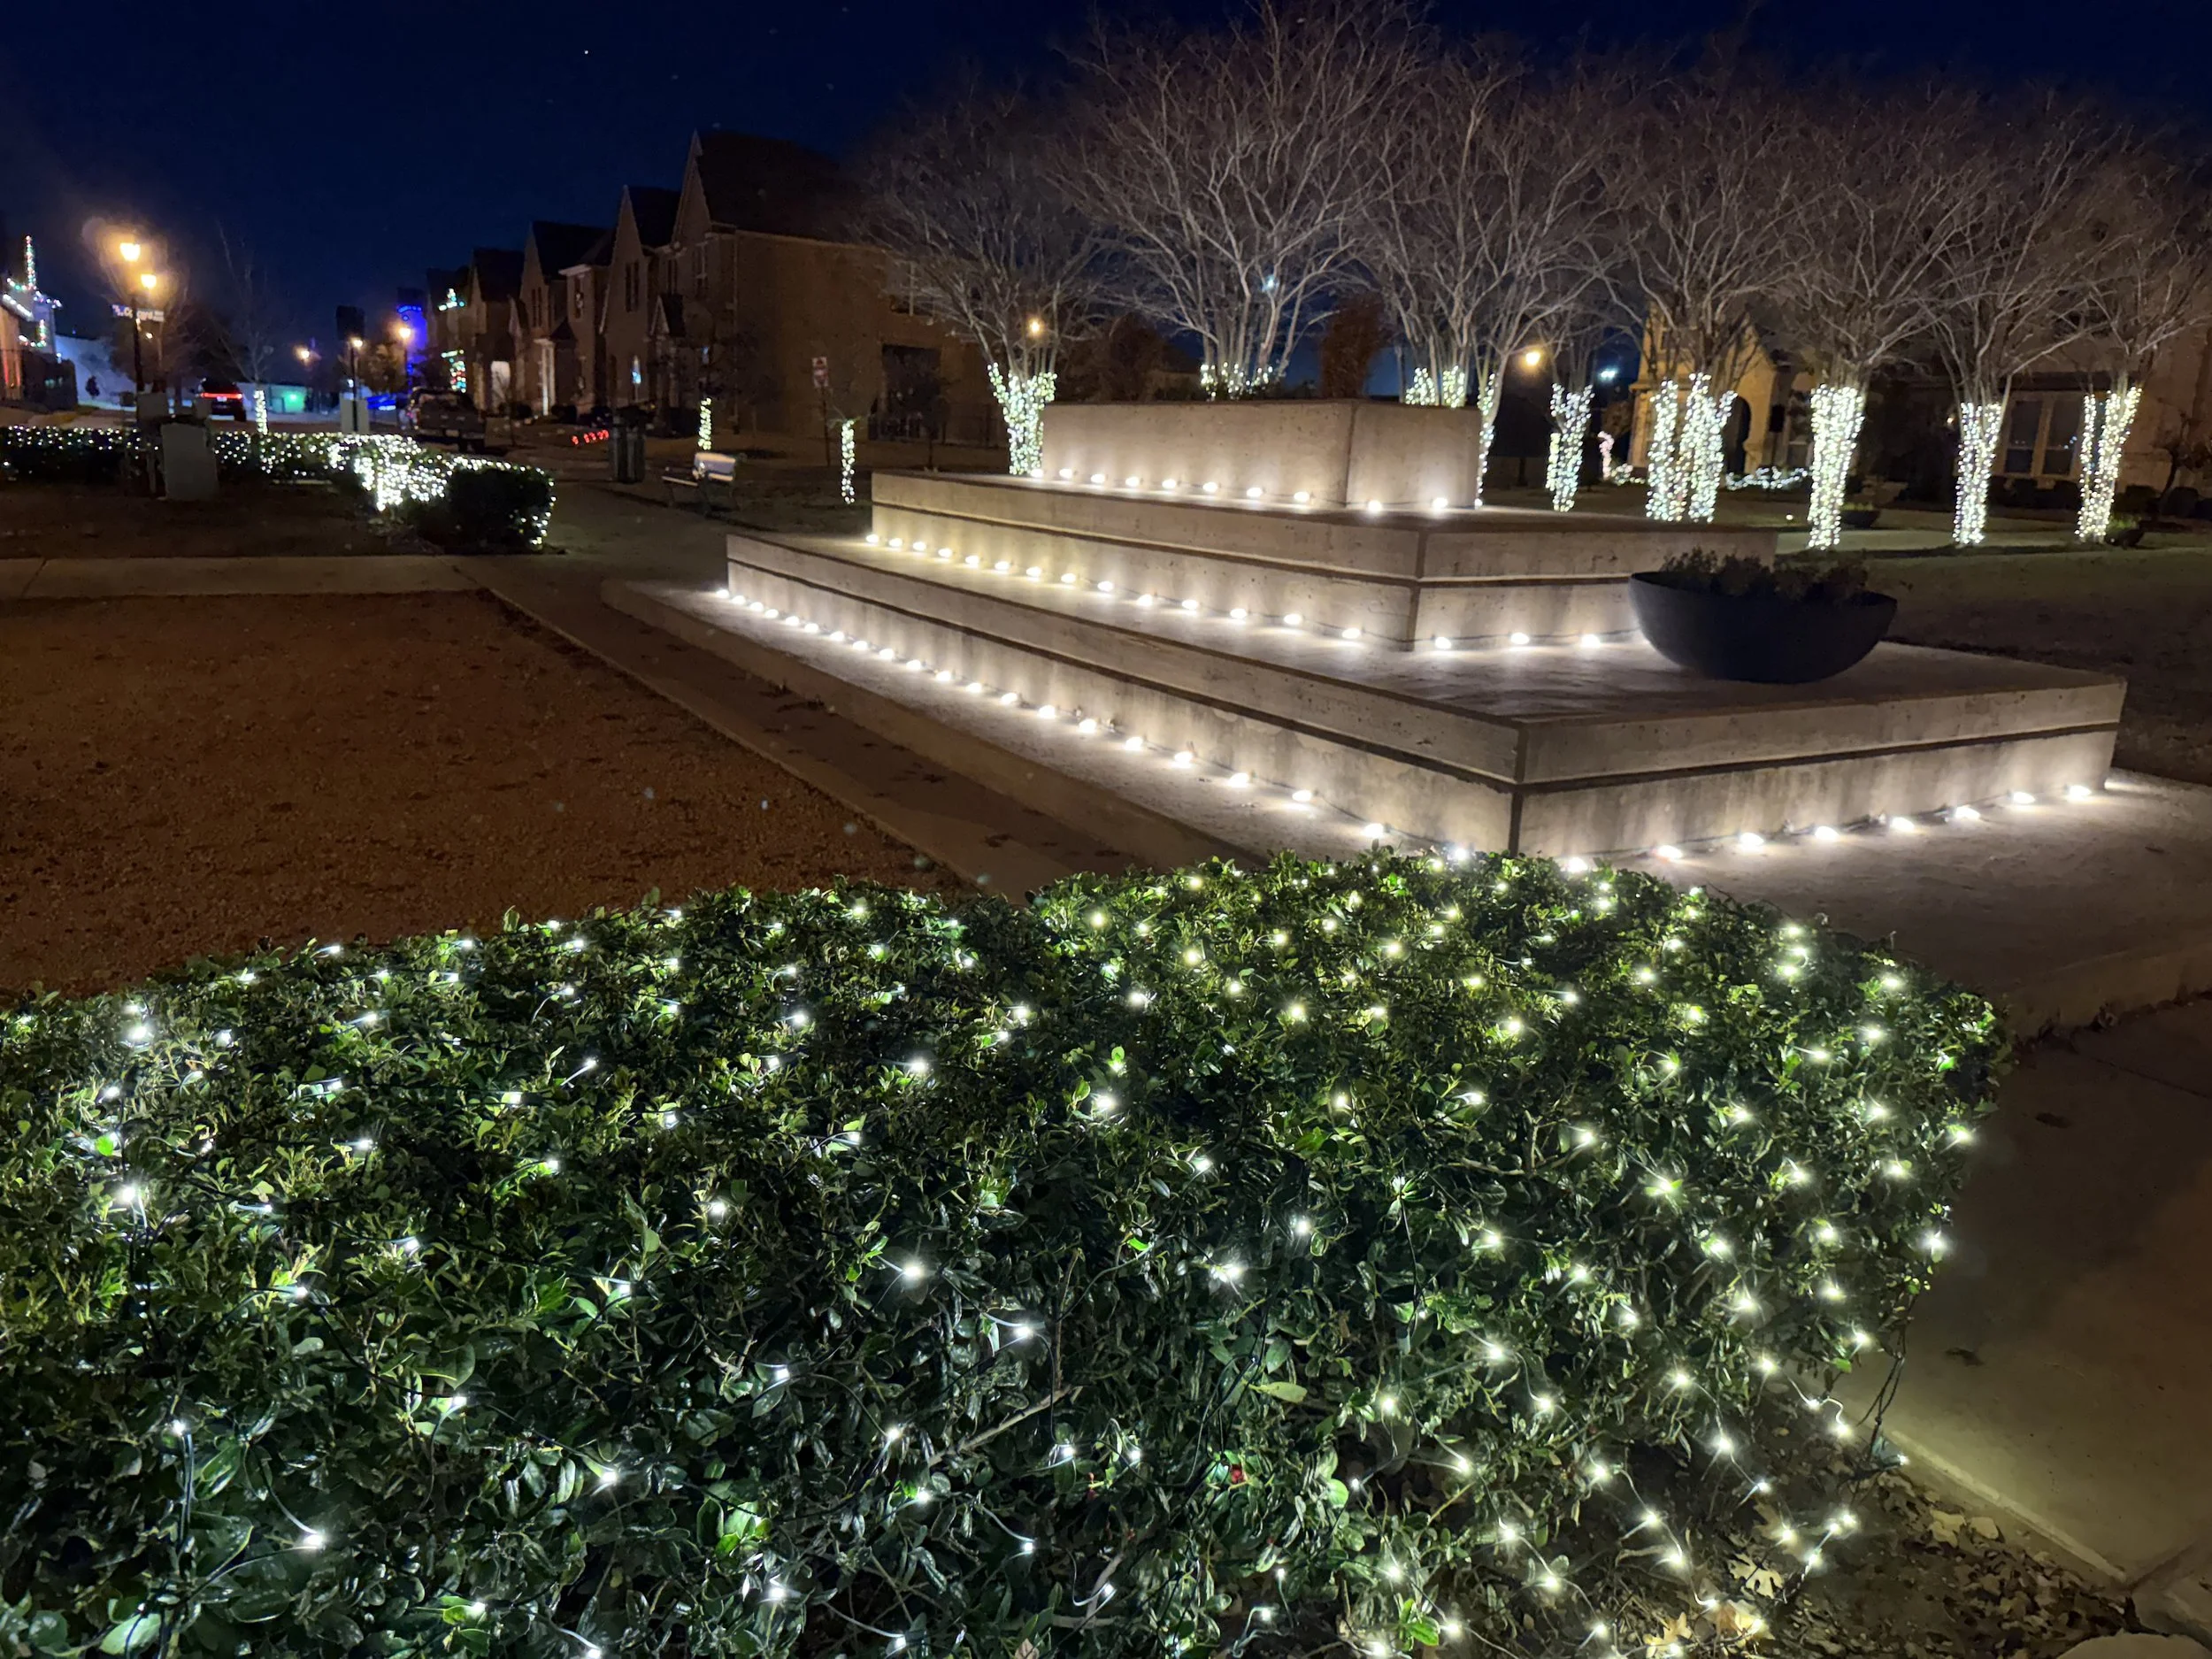
When designing a display, less is often more. Clean rooflines and evenly spaced bulbs usually look better than overcrowded or inconsistent lighting, especially from the street.
Label light strands, cords, and bins by customer name and installation location when taking lights down. This makes reinstallations faster, easier, and more profitable year after year.
Plan power distribution carefully. Avoid overloading circuits by spreading lights across multiple outlets and using timers rated for outdoor and commercial use.
For safety, never rush an installation. Weather conditions, roof pitch, and ladder placement matter. Using proper safety gear and taking extra time can prevent injuries and costly mistakes.
For contractors, clear communication with customers is key. Confirm color choices, timing schedules, and design expectations before installation to avoid revisions later.
Storing lights properly during the off-season extends their lifespan. Keep bins dry, labeled, and organized so everything is ready to go when the season returns.